A small kitchen gets crowded for a simple reason: everything is used daily, so everything lands on the counter. More organizers rarely help. What helps is a clear path, a prep spot you can actually use, and a rule for what lives where.
This guide gives you a seven-step method, a zone diagram, and a layout for deep cabinets. You need a tape measure and about an hour. Buy nothing until Step 4.
Step 1: Measure the Aisle and the Cabinets
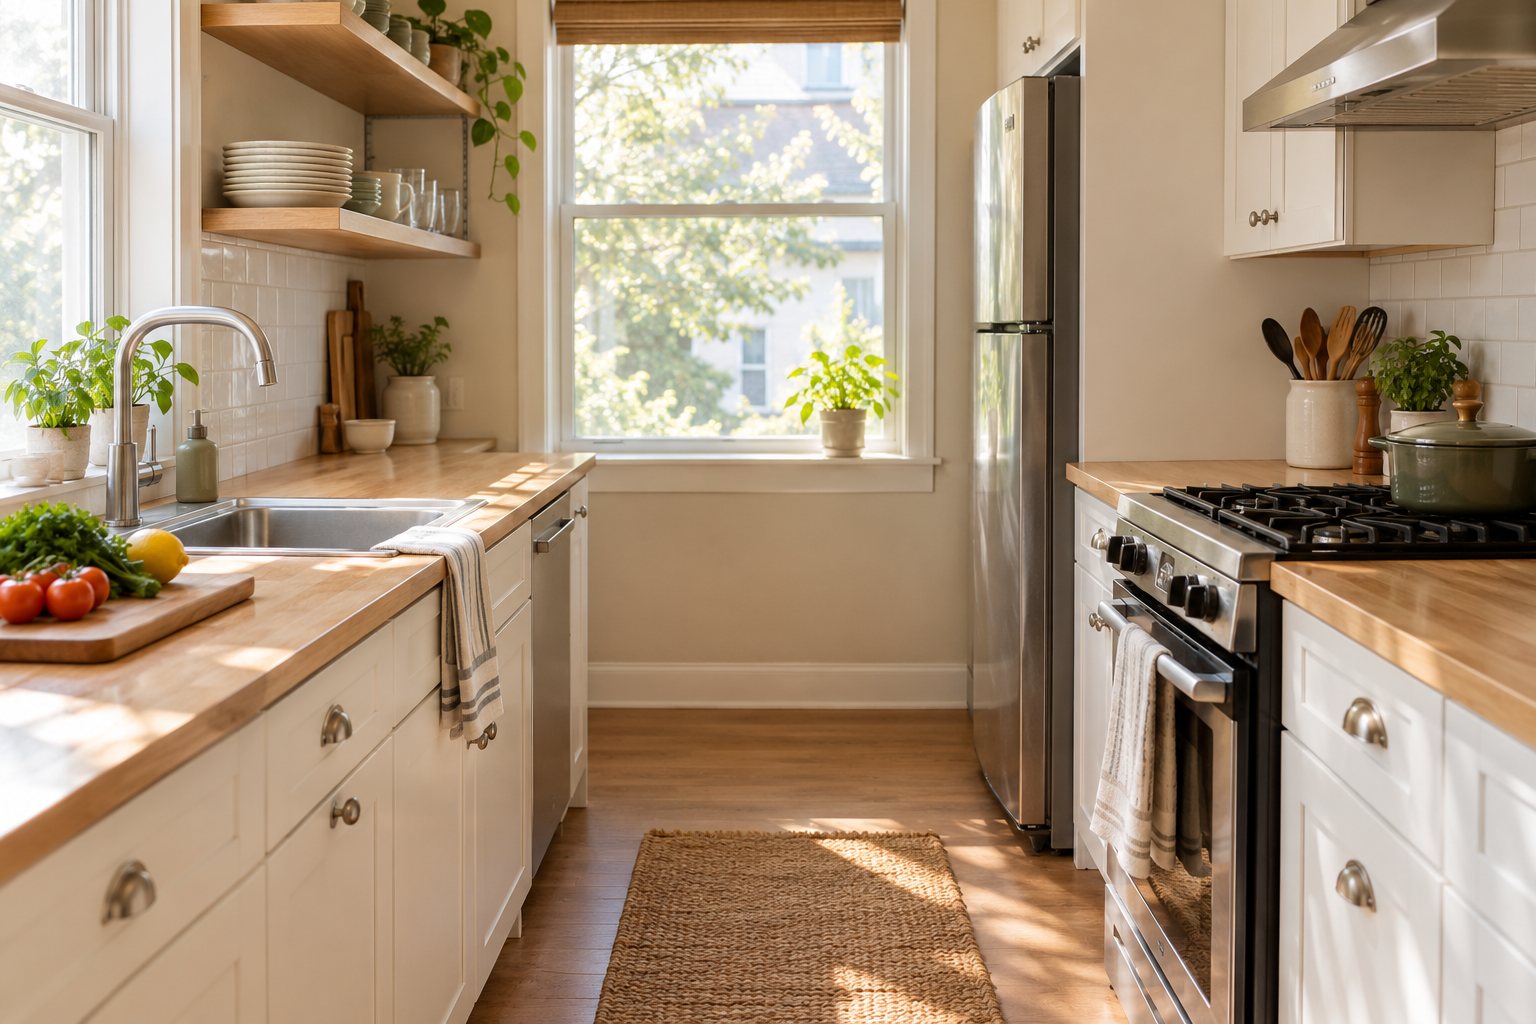
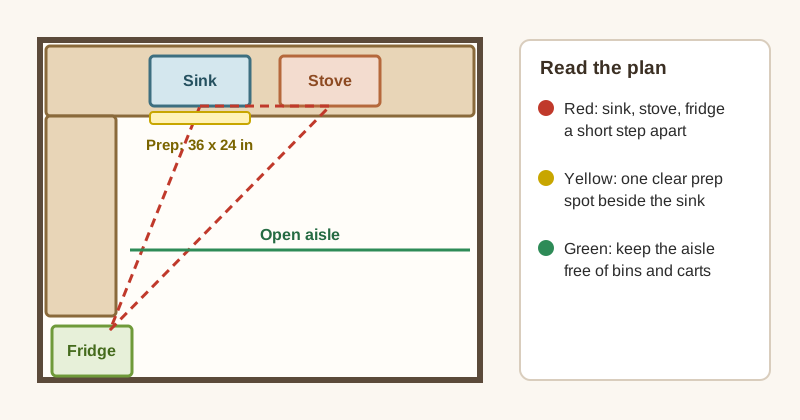
Write down four numbers: the aisle width between opposite counters, the clear counter next to the sink, and the inside width, depth and height of each cabinet you plan to use. The National Kitchen & Bath Association’s planning guidelines suggest at least 42 inches for a one-cook work aisle, 36 inches for a walkway, and a prep area of at least 36 by 24 inches next to the sink. These are design guidelines, not building code, and many small kitchens cannot meet them. If yours cannot, the answer is not a cart. It is a clear aisle.
Step 2: Clear the Counters and Edit
Take everything off the counters, then work through one cabinet at a time. Sort into three groups: used weekly, used a few times a year, and not used. Move the second group to a high shelf or another room and donate the third. Counters should hold only what you use daily, such as a cutting board, a kettle or a toaster, and one jar of utensils.
Step 3: Build Zones Around How You Cook
Storage works when it follows the path of a meal. Group by task, not by type:
- Prep zone (next to the sink): knives, cutting boards, bowls, peelers.
- Cooking zone (around the stove): pans, spatulas, oils and salt within one step.
- Cleanup zone (sink and dishwasher): sponges, soap, dish towels, trash.
- Cold and dry food zone (fridge and pantry): daily items at eye level, backups lower or higher.
If you walk across the kitchen to fetch something you use every day, move it before you buy anything.
Step 4: Make Deep Cabinets Reachable
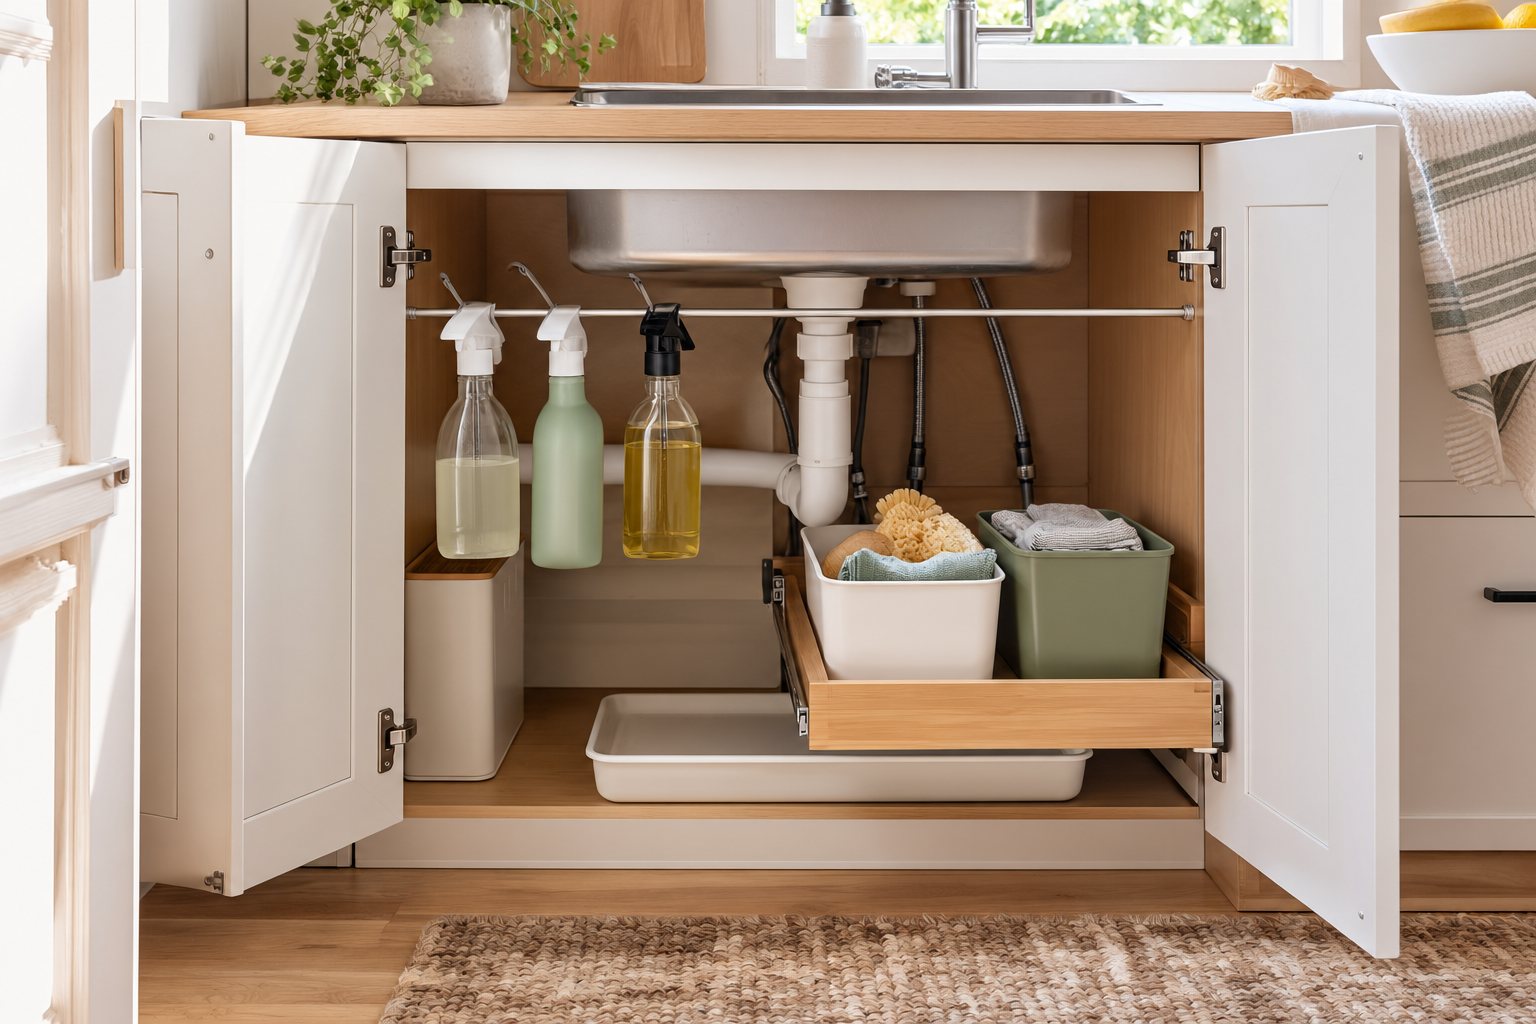
Deep base cabinets waste space because you have to unload the front to reach the back. Divide them by use. Put daily items at the front, rarely used bulky items at the back, and heavy items on the floor of the cabinet.
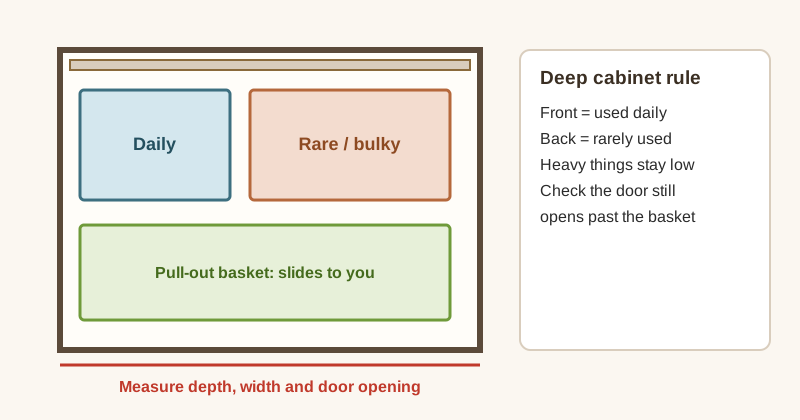
A pull-out basket or a clear bin with a handle turns the back into usable space. Before you buy one, check three things: the opening width, the depth, and whether the cabinet door can open past the basket. If the door hits the front of the basket, the system fails on day one.
Step 5: Use Walls and Doors Carefully
When floor and counter are full, the walls are what remains. Rails and hooks hold utensils, mugs and light cookware. Heavy pots belong low, not on a high rail. Mount wall hardware into studs or with anchors rated for the load, and follow the maker’s instructions. Renters can use over-door hooks and tension rods, tested with a light load first. If you add a tall pantry unit or a freestanding shelf, anchor it to the wall as the U.S. Consumer Product Safety Commission recommends for tall furniture.
Step 6: Handle Gaps and Corners
A gap beside the refrigerator or stove can fit a slim rolling cart or a few hooks. Measure the width at the top, middle and bottom, because walls and appliances are rarely square. Corners suit lazy-Susan style turntables or a bin you can slide forward. In both cases, test the space with a box of the same size before you buy.
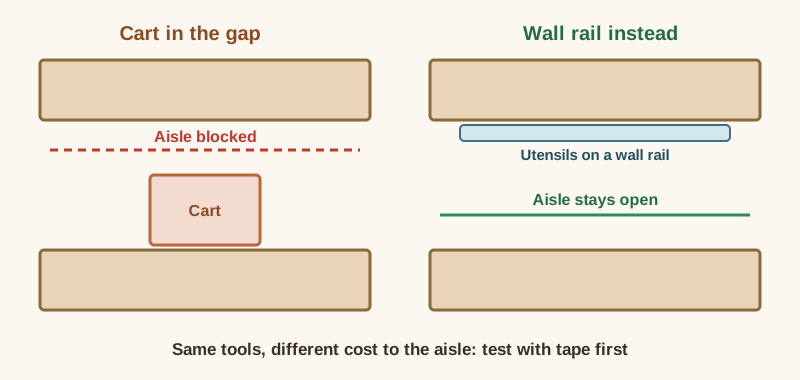
The comparison above is the test to run before buying any cart: tape the cart’s footprint on the floor, then try carrying a hot pan from the stove to the sink. If you have to turn sideways, the cart fails, and a wall rail or a shelf above the counter does the same job without costing floor.
Step 7: Keep Food Visible and Short
Pantry shelves work best when you can see everything. Group by category such as baking, breakfast and snacks, and keep one backup per staple instead of three. Clear containers are useful when they fit your shelf height, but only decant what you finish quickly, and keep the original label or write the product name and date on the container.
Mistakes That Are Specific to Small Kitchens
- Choosing a drawer divider by the photo instead of by the drawer’s inside depth, so the utensils end up jammed against the front.
- Hanging heavy cast iron from a rail that was only meant for ladles and whisks.
- Moving the trash and recycling bins to a far corner to free space, which sends crumbs and wet items across the whole kitchen.
- Decanting every dry good into matching jars, then losing the cooking instructions and best-by dates that were on the packaging.
- Storing cleaners under the sink beside lunch bags and snacks, within reach of children.
When the Counters Keep Refilling
If the counters refill within a week after Steps 1 to 3, the problem is quantity, not storage. Count duplicate tools, small appliances you use less than monthly, and food kept “just in case”. A kitchen with one clear aisle and one prep spot works better with fewer things than with more containers. Appliances that live on the counter should earn the spot by being used most days.
Try This Tonight
Clear one counter, put back only what you used today, and cook one meal. Anything you reached for twice goes back out. The rest moves to the cabinet nearest to where you would use it, or into a box labeled “later” that you open in a month.
Frequently Asked Questions
What should I do first in a small kitchen?
Clear the counters and measure the aisle and the inside of each cabinet. Decide what stays out daily, then assign everything else to a zone before you buy organizers.
How wide should a kitchen aisle be?
The NKBA guideline is at least 42 inches for one cook, 48 for two, and 36 for a walkway. If your aisle is narrower, keep it free of carts and bins.
How do I use a deep cabinet without losing things at the back?
Daily items go at the front, rare or bulky items at the back, and a pull-out basket or slide-out bin makes the back reachable. Heavy items stay low.
Where should knives and cleaning products go?
Knives in a block, magnetic strip or drawer insert; cleaners in a closed cabinet away from food and out of children’s reach.
Should I buy a rolling cart for a narrow gap?
Only if you measure the gap at three heights and the cart does not narrow the aisle you need to cook.
Sources
- National Kitchen & Bath Association, Kitchen Planning Guidelines : work aisle, walkway and preparation-area planning guidelines (guidelines, not building code)
- U.S. Consumer Product Safety Commission, Anchor It! campaign marks 10 years : anchoring TVs and furniture such as bookcases and dressers to the wall
Related Guides
- Small Kitchen Organization: Pull-Out Spice Rack for a 5-Foot Galley
- Under-Sink Organization Ideas
- Small Apartment Storage Ideas
The diagrams and the cover in this guide are original illustrations drawn for this article. Measurements are examples; measure your own space.